 BORETS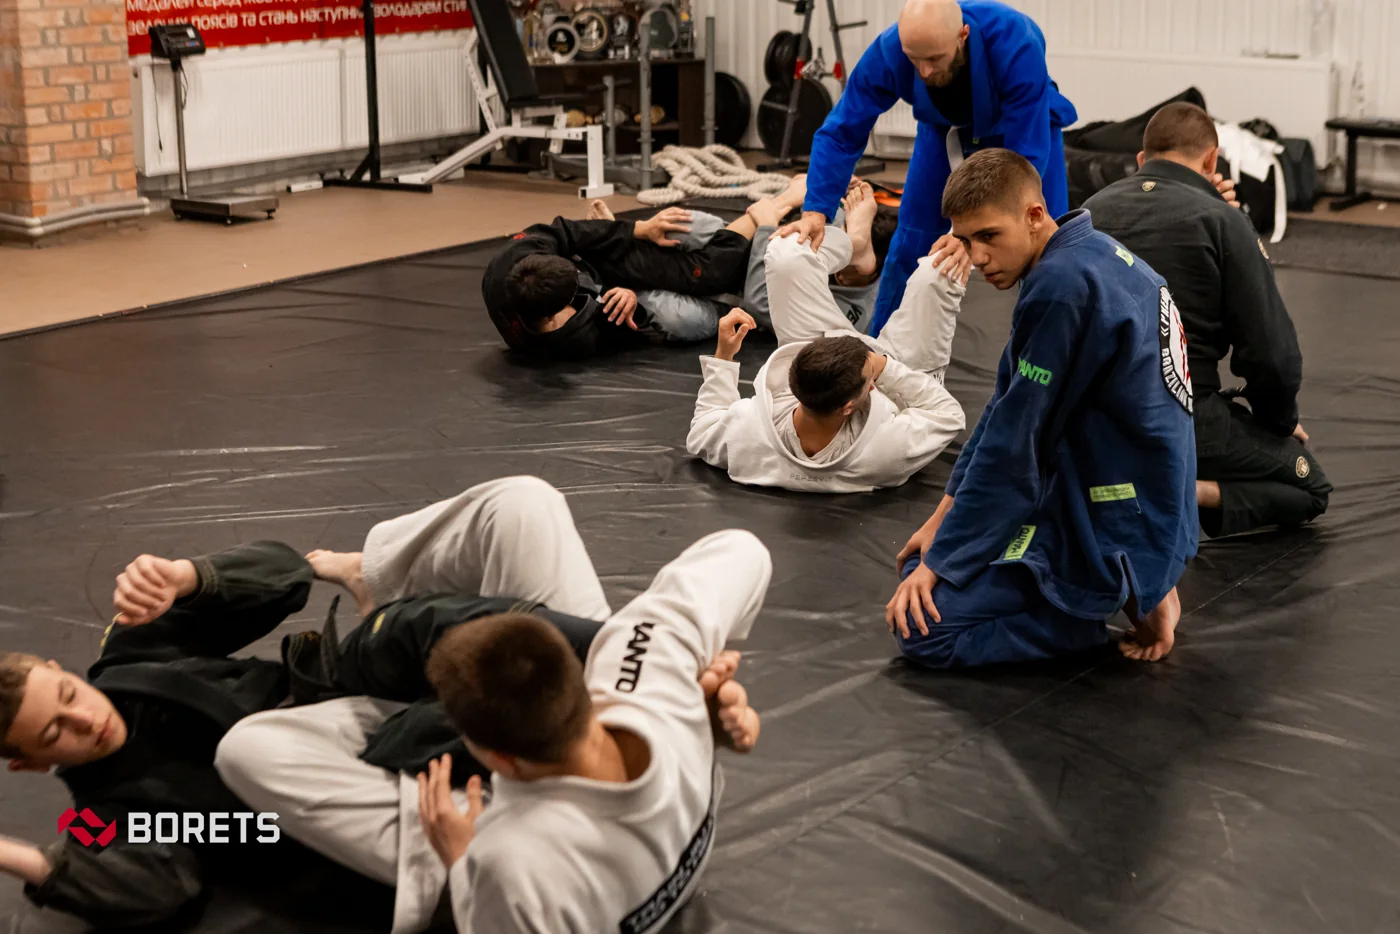
In this guide
- Recover two frames inside the opponent’s control
- Turn toward the opponent while moving the hips away
- Insert the near knee and rebuild the guard
- Diagnose a failed escape by its timing
- The ghost escape needs an exit for your shoulders and head
- Kesa gatame changes the escape problem
- Escaping knee on belly without giving away an arm
- Test the frames and the recovered knee
Escaping side control usually requires several small positional changes before the visible hip escape works. If your arms are separated from your body and the opponent controls your shoulders, moving the hips alone may create little useful space. Start by identifying what is pinned, what can move and where a knee could return between the bodies.
Recover two frames inside the opponent’s control
For a basic guard-recovery escape, one forearm frames near the opponent’s hip and the other across the shoulder or collarbone line. Keep your elbows bent and connected toward your own ribs. The hip-side frame limits the opponent’s ability to follow your hips; the upper frame helps preserve room for your shoulders to turn.
If an elbow is pinned far from your torso, recover that inside position first. A frame placed from a stretched arm is easier to collapse because the opponent can move the arm separately from your body. The goal is a supported barrier, not a bench press. You need enough structure to preserve a small gap while your hips move into a new position.
Turn toward the opponent while moving the hips away
A small bridge can make the top player adjust their weight and briefly lighten part of the pin. As that adjustment happens, turn onto your side facing the opponent and move your hips away from their hips. Your shoulders and pelvis do not need to travel the same distance: the frames keep the upper connection organized while the hip escape creates the lower opening.
Moving only the shoulders leaves the pelvis underneath the opponent. Moving the hips without preserving the frames lets the top player fill the gap immediately. Coordinate the two jobs. The opening may be small; its value is that your knee can enter it. A large movement that turns your back or separates both elbows can create a new problem instead of an escape.
Insert the near knee and rebuild the guard
Bring the knee nearest the opponent into the opening between the bodies, with the near elbow helping preserve the same inside space. The shin becomes a new barrier. This changes the job of the arms: they no longer have to hold the entire gap alone because the leg has begun to share that work.
If the opponent’s leg remains between yours, organize a usable half guard. If both legs can return in front, rebuild an open guard with clear foot and hand contacts. Do not pause just because a knee touched the inside. Keep turning enough to face the passer and respond to their first attempt to remove the new barrier. That final connection is what makes the recovery last.
Diagnose a failed escape by its timing
If the frame disappears before your hips move, work on the initial arm position. If a gap opens but the knee never enters, examine the direction and timing of your hip movement. If the knee enters and is immediately cleared, study the final guard connection. These are three separate training problems.
A heavier partner may make each weakness more obvious, but repeating a larger push is a poor diagnostic tool. Ask for moderate, consistent pressure while you test one correction. Increase resistance only when both partners can reproduce the intended movement.
The ghost escape needs an exit for your shoulders and head
The ghost escape takes a different route from pushing a knee back into guard: you recover the near arm and turn through an opening beneath the top player’s upper body, often coming toward your knees. The useful opening is one your shoulders and head can travel through together. Turning the hips while the head remains firmly controlled does not create that route.
Have the top player begin with a light, predictable pin. Identify which arm you need to recover and where your head will emerge before moving. Once through, face the opponent and establish a base rather than leaving your neck extended under their arm. If the exit closes, return to frames. The drill succeeds when you recognize the opening and the blocked version, not when you force every repetition.
Kesa gatame changes the escape problem
In standard kesa gatame, or scarf hold, the top player sits beside your ribs and controls your head and an arm. This is different from an ordinary chest-to-chest pin. The trapped arm and the opponent’s wide leg base can stop a familiar hip escape before it starts. Modified scarf holds may use an underhook instead of the head wrap, so name the version first.
Begin by working the trapped elbow back toward your ribs and the mat, while keeping your neck comfortable. Then inspect the opponent’s base. An accessible near leg can offer a route to recovering half guard; a changed upper-body connection may open another coached escape. Do not assume that a large bridge will roll someone whose free leg is ready to post. Practice the arm recovery and the chosen exit as separate tasks before linking them.
Escaping knee on belly without giving away an arm
Knee on belly gives the top player mobility: they can follow your hips, switch sides or step toward mount. Pushing their torso with two straight arms can expose your elbows while leaving their knee in place. Keep the elbows close and build a supported frame around the near hip or knee line, then move your hips away enough to return a knee between the bodies.
The top player’s next step determines whether you recover guard or must first stop mount. Train that decision with the knee placed lightly and no jumping pressure: the top player chooses to follow or step over, and the bottom player keeps an inside barrier through the transition. Judge the escape after the next movement, not at the instant the knee leaves your abdomen.
Test the frames and the recovered knee
Let the top player choose between following the hip escape and beginning a transition toward mount. The bottom player must keep useful frames, recognize the direction and establish the chosen guard through the next movement. Record whether the first failure happened at the hip frame, upper frame or inserted knee.
For supervised practice, use controlled pressure, keep contact away from the throat and stop immediately at a tap or any trapped-joint discomfort. Check the current IBJJF division rules when adding attacks. A useful note is “the hip frame collapsed before my knee entered,” because it identifies a correction you can test in the next repetition.