 BORETS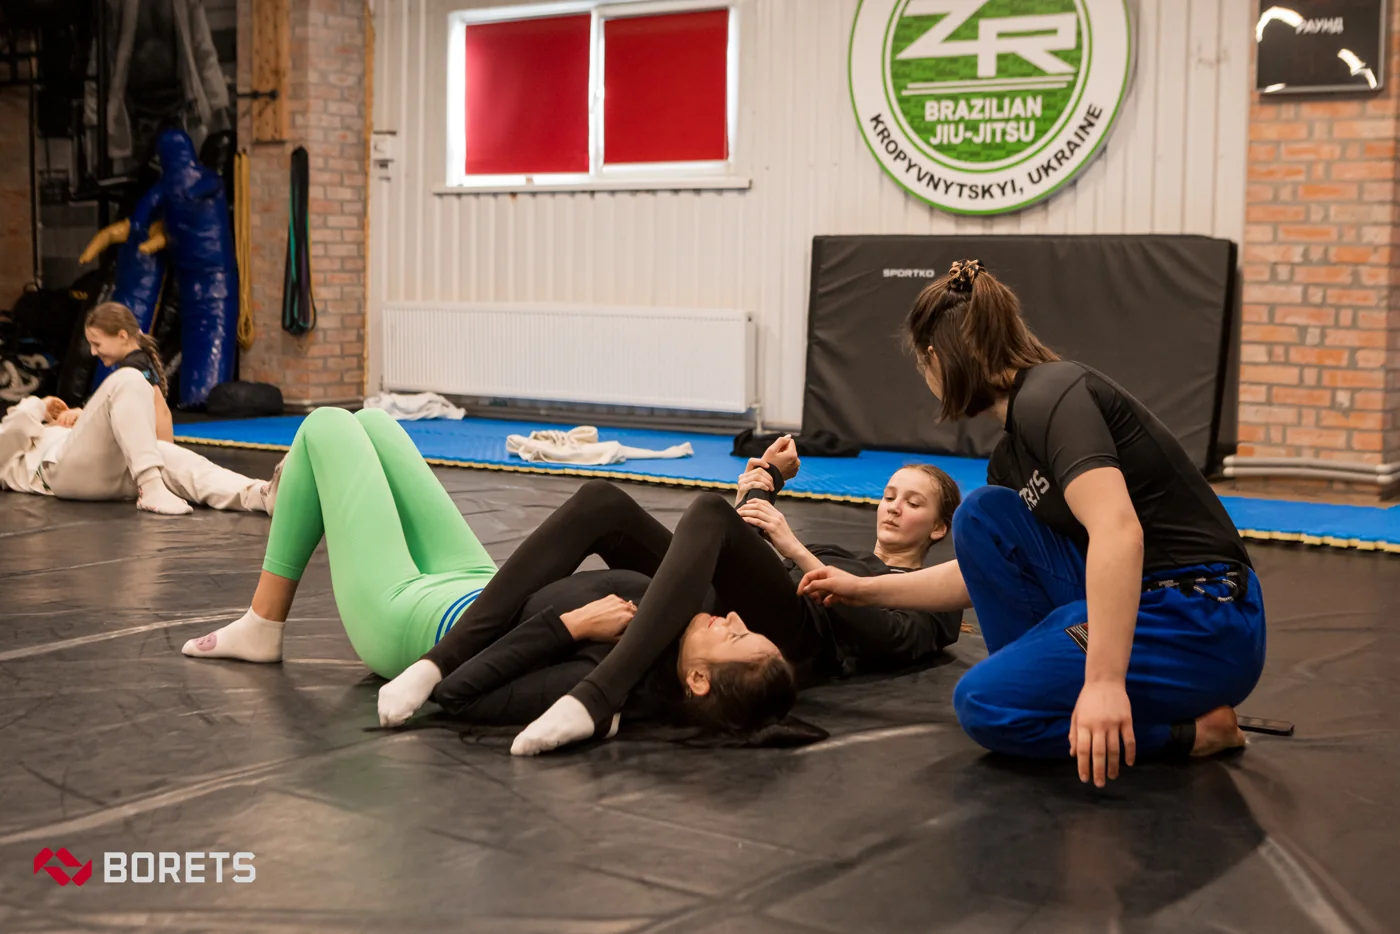
In this guide
An escape lesson should give a child a solvable problem. Starting underneath a stronger partner who holds as tightly as possible usually hides that problem. A better introduction separates the position, the space the child needs and the movement that creates it. Parents can then recognize progress even when the child does not escape every attempt.
A frame makes room for movement
A frame is a supported barrier made with an arm or leg. It is not a contest to push the other child away. In a basic side-control exercise, one bent forearm controls space near the partner’s shoulder while the other protects space near the hip. The elbows remain connected to the child’s own body.
These contact points keep the partner from immediately filling every gap. A useful demonstration compares straight-arm pushing with a compact frame while the top player stays light. The child can feel that the second shape leaves their hips free to move. Hands should not press into the face or throat.
Side control: turn toward, move the hips away
The directions can sound contradictory: the child turns their chest toward the partner while moving their hips away. That combination creates a diagonal gap instead of trying to lift the whole partner. With frames in place, the near knee slides into that gap. The first target is the knee returning between the bodies.
Stop there at first. Asking for a complete guard, an immediate sweep and a finish adds decisions before the first movement is understood. Later, the top player can follow the hips gently, so the bottom child must preserve the frame and adjust the angle instead of repeating a memorized motion into a closed space.
Mount: connect the elbow and knee
For an introductory mount escape, the child keeps elbows close and turns onto a side. A frame near the top partner’s hip helps maintain the opening while the bottom knee comes inside. The useful relationship is elbow near knee: the partner has less empty space to move into while the legs recover a barrier.
If the top player has climbed high toward the shoulders, first restore room for the elbows. Repeatedly kicking the legs cannot solve an opening that is missing near the hips. Keep this lesson separate from a bridge-and-roll escape until the child understands the different problem each movement solves and can stop on request.
Add resistance one decision at a time
A practical progression has three stages: find the shape with a cooperative partner; repeat while the partner follows one movement; then play a short positional game with one clear ending. If the knee never gets close to the gap, reduce the top player’s task or begin with a little more space.
Useful feedback identifies an observable action: your elbow stayed close, your hips moved before your knee, or you noticed that the opening had disappeared. Counting successful escapes alone misses those changes. A child can improve the first part of an escape before completing it against a partner who understands the same game.
Confidence includes the right to stop
Agree on a spoken stop and a tap before contact begins; either ends the drill immediately. A child who asks for less pressure has communicated useful information. Qualified supervision, suitable mats and appropriate partners are essential. Pain, breathing difficulty or distress ends practice; an escape drill is never a test of enduring pressure.
After class, ask which gap your child was trying to find, rather than why they could not beat a partner. At home, recalling the frame with a cushion or practicing a coach-approved solo hip movement is enough. Save partner pressure and live escape games for the coached environment where the task can be adjusted.