 BORETS
In this guide
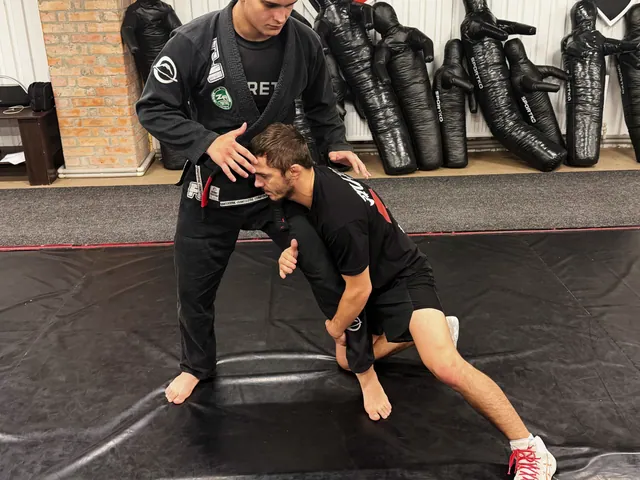
An underhook places your arm beneath an opponent’s arm and connects you to their upper body. The connection can help you turn them, close distance or expose a leg, but the arm position alone does not produce control. Your stance, head placement and free hand determine whether you can use the tie. Begin by learning to maintain that relationship while the opponent moves, before attaching a takedown.
Enter through a space, not through a forced shoulder
Use hand fighting or a small change of angle to make room beneath the opponent’s arm. Slide into the underhook while keeping your feet underneath you. Your coach can choose a starting hand position on the upper back or shoulder area according to the version. Do not chase a higher elbow by forcing the partner’s arm beyond a comfortable range. A shallow tie that can be improved through movement is more useful for learning than a strained position neither partner can adjust.
Organise head, shoulder and feet
Keep your torso upright enough to direct the contact and keep your neck aligned. Place the head where your coach has demonstrated for the chosen side; head position should help organise distance without becoming a headbutt. Keep the shoulder connected and the feet mobile. If your underhook side reaches forward while the hips remain far away, the opponent may turn you or attack underneath. Pause the drill and check whether you can take a step in either direction without losing the tie.
Give the free hand a clear task
The other hand can monitor a wrist, maintain an inside contact or help manage the opponent’s free shoulder. Choose one task instead of leaving it hanging or reaching for a leg too early. The underhook and free hand should make sense together: one connection influences the upper body while the other helps prevent an easy recovery. During a position drill, ask the defender to regain their own inside contact. Notice whether your free hand helps you respond without pulling the underhook arm away.
Choose the attack from the reaction
When the defender steps and turns, a leg may become available. When they square up and close distance, a different upper-body connection may become possible. Start with one coach-selected continuation, such as a controlled single-leg entry, and identify exactly which reaction makes it appropriate. Do not reach down while the shoulders and head are being pushed away. The point of the tie is to improve the opening for your attack. If the opponent removes that opening, maintain position or return to hand fighting.
Manage the opponent’s overhook
A common answer is an overhook around your underhooking arm. That response changes how freely your shoulder and elbow can move. Keep your body aligned with the arm rather than rotating away while it remains trapped. Reduce force, adjust your stance and ask the coach whether to improve the tie or release it. Beginners should learn this decision before practising forceful finishes from the position. An underhook is useful control only when you can still move, recognise the counter and choose a next action.
Use a position game to test control
Begin with cooperative entries and releases. Then give one wrestler the task of keeping an underhook while the other tries to recover inside position at low intensity. Add movement inside a small agreed area, followed by the chosen leg entry without a takedown. Children can work on these positioning tasks without lifts or forceful shoulder pressure. Record whether you lost the tie during entry, movement or the change to attack. That tells you which phase to revisit, instead of measuring every repetition by whether someone fell.