 BORETS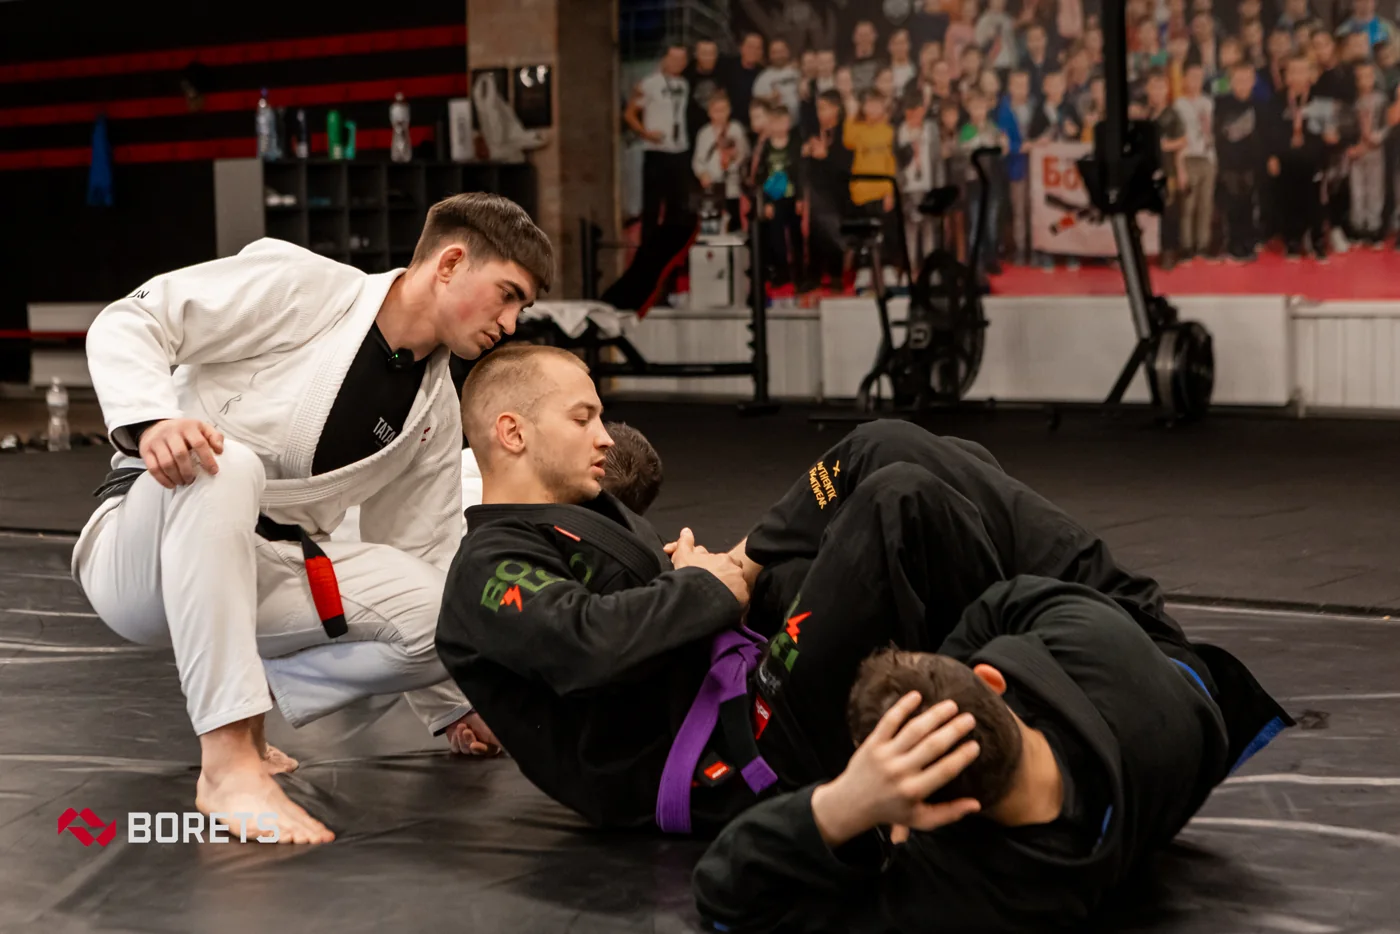
In this guide
The guillotine choke appears in several situations, including front headlocks, guard exchanges and transitions after a defended takedown. Those situations do not share identical body positions. Before studying a finishing grip, decide where the exchange begins, which arm configuration you are using and what stable position remains if the attack is unavailable.
The front headlock connects the head to the shoulders
In a grounded front headlock, start with your weight supported by your own base. One arm contains the head while the other can manage the near arm or shoulder. The opponent’s head sits below your shoulder line, but their torso still needs attention: a head grip alone does not prevent the body from circling.
Keep your elbows connected to your body enough that the arms do not hang as separate levers. Follow the opponent’s shoulder movement with your chest and feet or knees. If you lean all your weight forward without a base, they may pull you out of balance. If you stay too far away, they gain room to recover posture and free the head.
Arm-in and arm-out need different space
An arm-out guillotine surrounds the neck without including the opponent’s arm in the same structure. In an arm-in version, a shoulder and arm occupy part of that space. The second version therefore changes where your chest, elbow and grip can sit; copying a small hand detail from the first version may not produce the same connection.
Identify the version before comparing demonstrations. Look for the included shoulder and ask whether it is contained near the neck or creating a large gap. Keep the gripping wrist aligned rather than bending it to imitate a photograph. The hands have to fit the actual arm configuration and the position of both bodies.
The grip works with the torso
In a basic connected-hand version, the supporting hand reinforces the attacking hand or wrist while the attacking arm contains the neck. Keep the forearm in the intended line and the grip close to your body. Straightening both arms and pulling upward creates a different action and often loses the compact connection.
The finishing structure comes from reducing unnecessary space while the torso and arms remain organized together. There are legitimate low-elbow and high-elbow variations, so elbow height is not one universal rule. Study one complete version: hand connection, shoulder position, body angle and the way the opponent’s movement is contained. A grip name without those surrounding details is incomplete instruction.
Your legs decide whether the body can circle away
From a bottom guard position, the legs help keep the opponent’s hips in a relationship where the upper-body attack remains relevant. If the opponent clears your legs and circles their torso away, holding the same neck grip may leave you underneath a pass with little useful control. The position has changed even if your hands are still joined.
From top front headlock, keeping a mobile base lets you follow or move around the defender instead of immediately dropping backward. Treat going to guard as a deliberate choice with a leg-control plan. Falling simply because the head is reachable can surrender a stable top position without creating a stable bottom attack.
Troubleshoot the connection before changing the grip
If the head escapes immediately, inspect the initial shoulder and arm connection. If the hands remain joined but the opponent circles away, inspect the base or leg control. If the hold becomes a large pull with extended arms, inspect the distance between your elbows and torso. Test one of these problems at a time with controlled defensive movement.
Finishing practice needs direct supervision, gradual pressure, early tapping and immediate release; avoid twisting the neck or testing choke tolerance. Check the IBJJF restrictions for your exact division and variation. A useful note names the start, arm configuration and first lost contact, rather than simply recording that the grip failed.