
The direct answer
Learn the current NFHS or NCAA scoring model first, then build one takedown, one escape and one dependable ride.
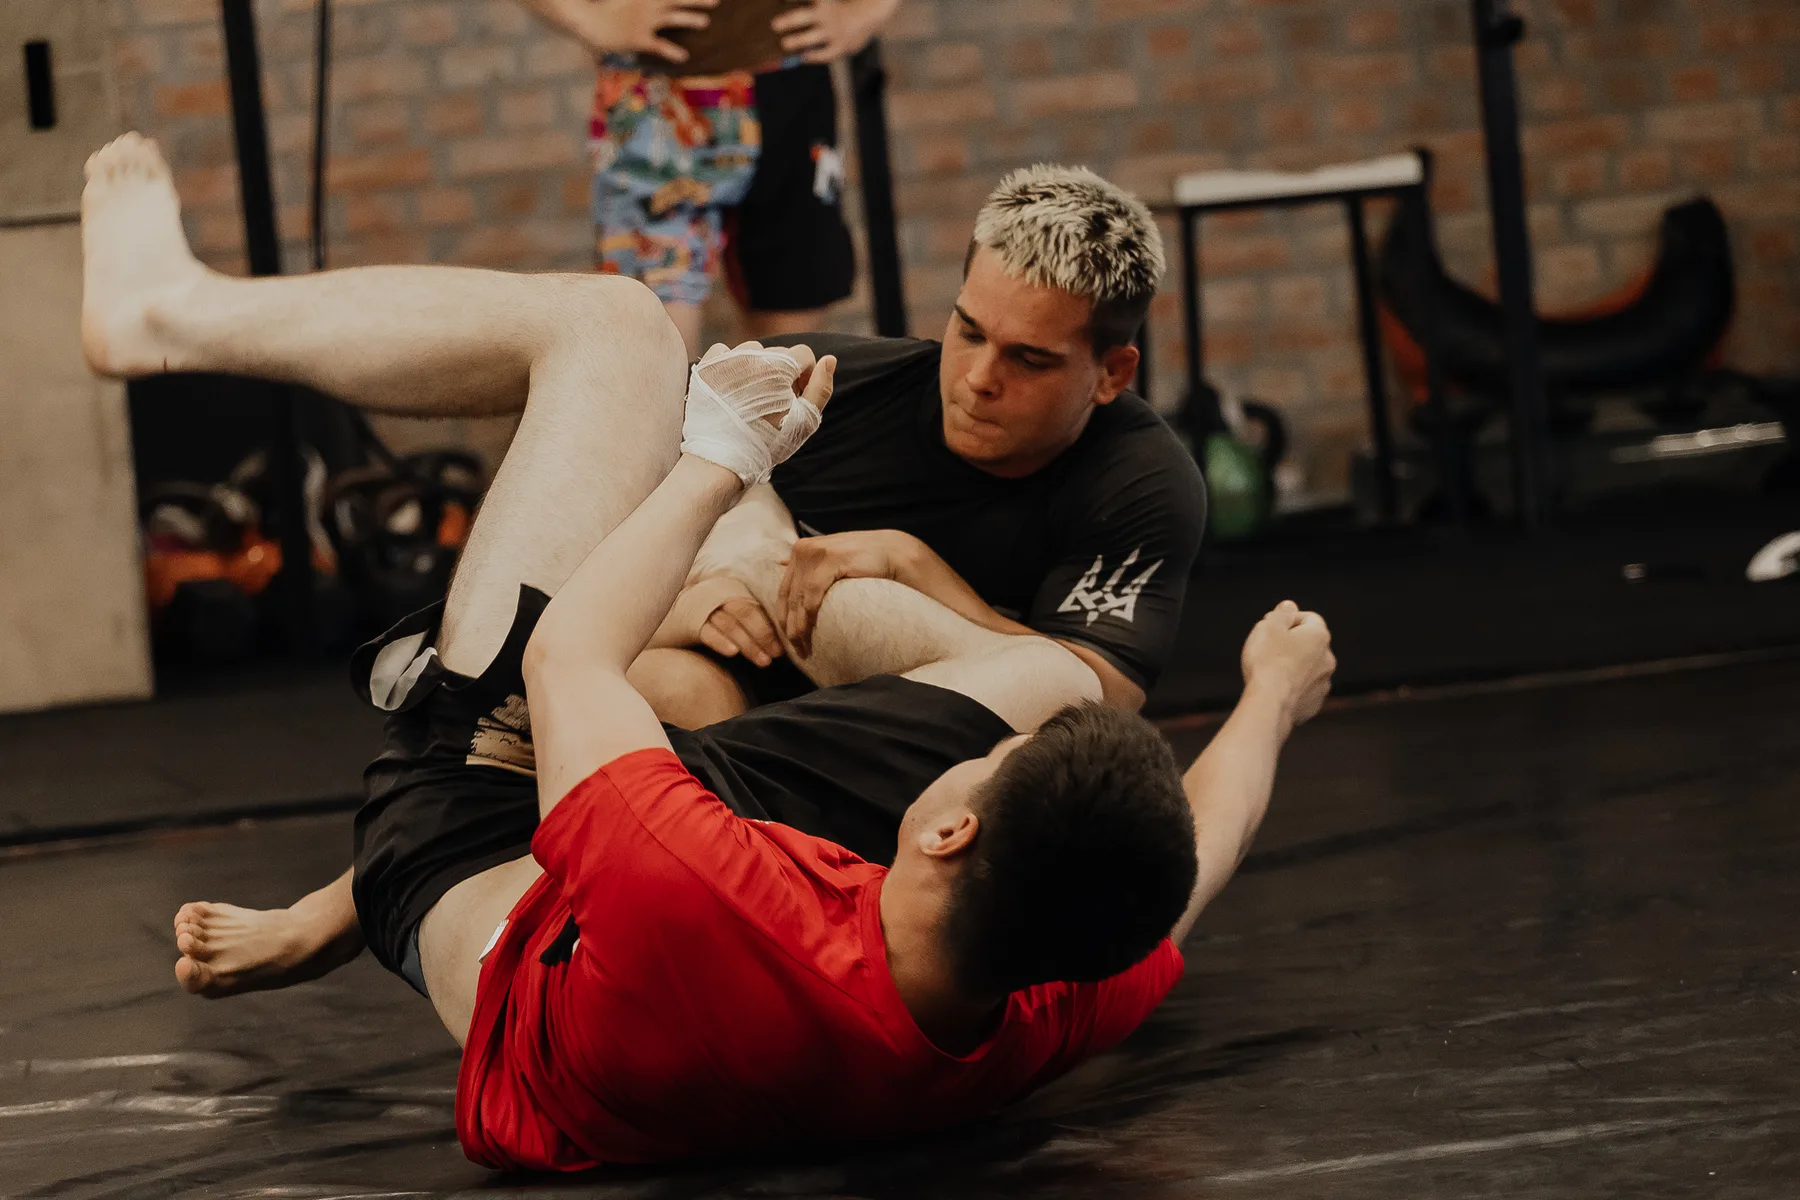
A beginner drill should make one wrestling problem easier to see and repeat. It is not valuable merely because athletes move quickly. Start with stance and motion, level change, penetration step, safe falling, hip recovery and basic hand fighting. Then connect those movements to partner tasks: win inside position, create a reaction, enter one takedown, finish with control, escape from bottom or hold a stable top position under the active rules. Every drill needs a purpose, starting position, success condition, resistance level, time or repetition limit and a stop rule. Progress from solo pattern to cooperative partner, known reaction, limited choice and positional live wrestling. Solo work can improve rhythm and movement, but it cannot replace the distance, pressure and decisions of a partner. Coaches should prefer a small library that appears repeatedly across the season and evolves with resistance. Beginners gain confidence when they recognize the same position in drills and live rounds; novelty for its own sake prevents that transfer.
01
What to understand
Drill movement with an external cue
Shadow wrestling becomes useful when the athlete responds to a coach, partner or visual target. Call direction, level change, sprawl, circle or stance reset. The athlete keeps posture and foot spacing while changing task. Random movement without feedback often rehearses crossing feet and rising upright.
Give the partner a defined reaction
Instead of becoming a passive dummy, the partner supplies one realistic response at a controlled speed: square hips, post, whizzer, stand-up or hand fight. The attacker learns to recognize it. Once the correct branch is stable, allow two reactions and then free choice.
End with the scoring position
A takedown drill should not stop at knee contact, and an escape drill should not stop at standing while control remains. Hold the required position briefly and call the likely score or restart. This teaches athletes to finish through the rules rather than through the choreography.
02
How to train it
Drill 1 · stance mirror
Partners face each other without contact. One leads short steps, circles and level changes for 20 seconds; the other mirrors while protecting stance. Switch leaders. Add a touch target only after both can move without crossing feet or narrowing the base.
Drill 2 · contact-to-entry chain
Begin from hand fighting. The attacker must win a post, snap or inside tie before entering the chosen takedown. The defender gives a known reaction. Freeze at balanced entry, then finish and control for three seconds. Reset immediately with no long lecture.
Drill 3 · position-to-live ladder
Use three 30-second rounds from the same position. Round one has one defender reaction, round two offers two choices, and round three is live until score or escape. The coach tracks whether athletes used the practiced decision. If not, reduce complexity and repair the setup.
Every drill needs a purpose and a success condition.
The partner gives a reaction, not dead weight.
Finish through the scoring position.
Progress from pattern to choice to live.
03
Common mistakes
Counting bad repetitions
A target of twenty means little if posture fails after six. Count only repetitions that meet the technical and safety standard, or use short timed sets with immediate feedback. Stop before speed turns the drill into a different movement.
Using solo drills as complete wrestling
Solo work develops movement, rhythm and conditioning but cannot reproduce grip, pressure, reaction or timing against another person. Use it as preparation or a fallback, then return to qualified partner practice when available.
Changing drills before transfer appears
Beginners need repetition across sessions. Keep the positional problem stable while changing reaction and resistance. Replace a drill when it no longer teaches the decision, not because the room is bored after one day.
04
Questions athletes ask
01 · What are the best wrestling drills for beginners?
The best drills match the athlete’s active rules and current technical need. A useful starter set includes stance mirror, level-change cue, safe falling, hand-fighting position, one contact-to-takedown chain, one defense and one top-bottom positional ladder.
02 · Can beginners drill wrestling at home?
Solo stance, motion, level changes and low-risk movement may be practiced in a clear safe space after qualified instruction. Do not attempt throws, partner takedowns, neck bridges or risky techniques without appropriate coaching, mats and supervision.
03 · How long should a drill last?
Long enough to produce several high-quality decisions, but not so long that posture and attention collapse. Short sets of 20–45 seconds or a small number of verified repetitions often work well. The coach adjusts for age, complexity and intensity.
05
Sources and further reading
Training needs vary by athlete, schedule and coaching environment. Use these sources as context, then adapt with qualified support. Educational content for athletes and coaches. This guide does not diagnose injury, replace individualized coaching or override event rules. Stop if an activity causes pain, and use an appropriately qualified coach or healthcare professional for your situation.