
The direct answer
Check the event rules before choosing takedown, guard and leg-lock priorities.
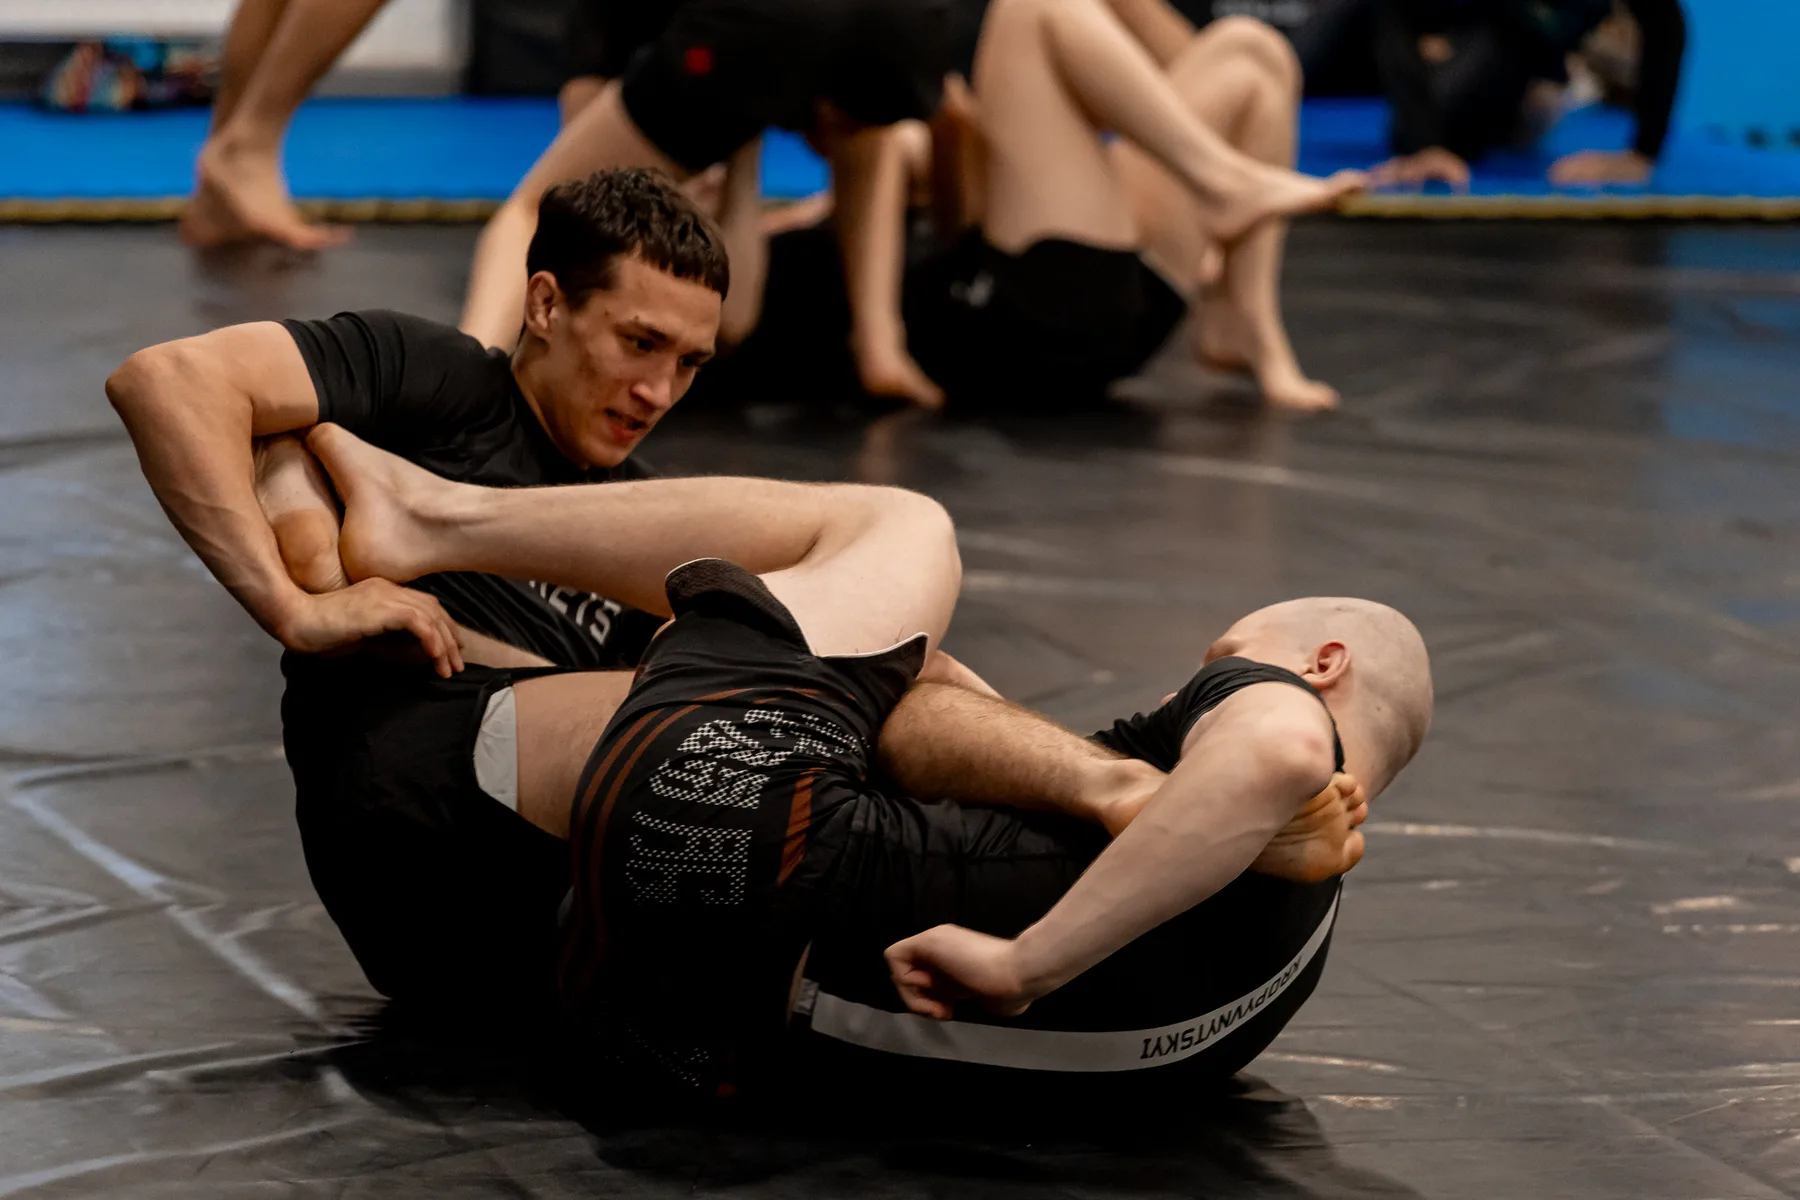
Safe leg-lock defense starts before a finishing grip is fully organized. First identify the entanglement, which of your legs is controlled, where your knee line sits relative to the opponent’s legs, and whether your hip and knee can still turn together. Protect alignment, clear secondary controls and create space without sudden spinning. A responsible exit usually follows an order: stop the opponent from improving control, recover the knee line or inside position, free the foot along a mechanically sensible path, and only then disengage or come on top. The exact route changes with the position; there is no universal escape that should be forced through every configuration. Partners must agree on legal techniques, intensity, tap signals and whether finishing mechanics are being applied at all. The attacker should secure position slowly and release immediately at any verbal or physical tap. The defender should tap before pain, not use flexibility as proof of safety, and never rotate unpredictably against a trapped foot or knee. Rules vary substantially by organizer, age and division, so confirm the current official document. This is a coaching framework, not medical advice. Stop for pain, a pop, loss of function or concerning symptoms and seek appropriate professional assessment.
01
What to understand
Name the position before choosing the exit
Identify which leg is primary, how the opponent’s knees and feet connect, and where their hips face. Then name the immediate problem: trapped knee line, exposed heel, controlled secondary leg or lost inside position. Position names are useful only when they lead both partners to the same mechanical picture.
Preserve hip-knee-foot alignment
When the foot is captured, turning the torso independently can load the knee before the athlete recognizes danger. Organize the hips and knee to move together, reduce loose rotational momentum and use the hands to monitor controls rather than pushing blindly. If alignment cannot be restored safely, tap and reset.
Recover the knee line deliberately
Many escapes become more available when the knee passes the opponent’s controlling leg line, but simply pulling harder is rarely enough. Frame, adjust the hip angle, clear the secondary leg and make small positional gains. Coaches should define a visible checkpoint so athletes know when the knee is actually free.
Separate positional defense from late escape
Early defense denies alignment, grip and secondary control. Late defense begins after the attacker has those elements and therefore carries less margin. Training scores should reward early recognition and safe concession, not spectacular last-second motion. A tap is a correct decision when control has passed the agreed threshold.
Use rules and partner agreements
Before rounds, state the governing rules, allowed entanglements, legal finishing mechanics, start positions and intensity. A legal competition technique can still be inappropriate for a beginner or a fatigue-based round. Coaches may use catch-and-release constraints to develop recognition without routinely applying finishing pressure.
02
How to train it
Step 1 · recognition freeze
Place partners in several common entanglements without a finishing grip. On the coach’s signal, the defender names the controlled leg, knee-line status, inside-position status and likely secondary control. The attacker confirms or corrects the map. No escape begins until both athletes agree on the picture.
Step 2 · deny the finishing connection
The attacker slowly seeks one preselected grip while maintaining the position. The defender uses hands, heel concealment where appropriate, hip alignment and inside frames to prevent a clean connection. Reset immediately when the grip is secured; do not add finishing force to prove that the catch was real.
Step 3 · knee-line recovery
Begin with the foot controlled but no submission pressure. The defender clears secondary controls, changes hip angle and exposes the knee past a visible checkpoint. The attacker offers progressive positional resistance only. End when alignment degrades, the foot becomes trapped in an unsafe direction or either partner calls stop.
Step 4 · exit to a known destination
After recovering the knee line, the defender must reach a named destination: safe disengagement, balanced standing, top position or a neutral leg-pummel relationship. This prevents athletes from celebrating partial freedom while leaving the other leg, back or neck available in the continuing exchange.
Step 5 · constrained catch-and-release rounds
Use short rounds with only verified legal entries and a score for stable positional control, early defensive recovery or a clean catch that is released immediately. The coach stops unsafe rotation, acceleration or ambiguous taps. Increase resistance only when communication and release behavior remain dependable.
See the knee line before moving fast.
Move the hip and knee as one unit.
Clear secondary control before pulling the foot.
Small positional gains beat blind rotation.
Tap before pain and reset without debate.
03
Common mistakes
Spinning without reading the trapped leg
A turn that would escape one configuration can tighten another. Pause long enough to identify the opponent’s controls and the direction your knee can responsibly follow. If the path is uncertain under a secured finish, tap rather than experimenting.
Treating flexibility as defense
Large range of motion can delay discomfort without making uncontrolled force safe. Defense should reduce the attacker’s mechanical control and restore alignment. Never ask a partner to test how far a joint can travel.
Applying finishes during every positional round
Finishing pressure is not required to teach every layer. Recognition, grip denial, knee-line recovery and positional exits can be trained separately. Use only the amount and speed appropriate to the agreed task and athletes’ experience.
Assuming no-gi legality is universal
Promotions and divisions differ on reaping positions, rotational locks, straight locks and age or experience restrictions. Verify the current official event document and briefing; gym tradition is not a reliable substitute.
04
Questions athletes ask
01 · When should I tap to a leg lock?
Tap when you no longer have a responsible, trained path to protect alignment and reduce control—not when pain becomes a contest. In training, use an intentionally early threshold. A verbal tap is appropriate when hands are occupied, and the attacker must release immediately at any clear signal.
02 · Can beginners train leg locks?
They can learn positional vocabulary, safe communication, early defense and selected mechanics under a qualified coach. The appropriate techniques, resistance and finishing exposure depend on the gym, athlete and ruleset. Catch-and-release work can develop awareness without making late escape the goal.
03 · Is pulling the foot out a complete escape?
Not necessarily. The knee line may remain trapped, the other leg may be controlled, or the opponent may transition to the back or top. Define the escape by a stable positional destination and restored alignment, not by a moment when the toes appear free.
04 · What should I do after a painful leg-lock incident?
Stop training and do not use another round to test the joint. Pain, swelling, instability, loss of motion, a pop or difficulty bearing weight warrants appropriate medical assessment. Return-to-training decisions should follow qualified guidance rather than a generic online timeline.
05
Sources and further reading
Training needs vary by athlete, schedule and coaching environment. Use these sources as context, then adapt with qualified support. Educational content for athletes and coaches. This guide does not diagnose injury, replace individualized coaching or override event rules. Stop if an activity causes pain, and use an appropriately qualified coach or healthcare professional for your situation.