
The direct answer
Use the positional hierarchy to decide what to protect, escape and attack first.
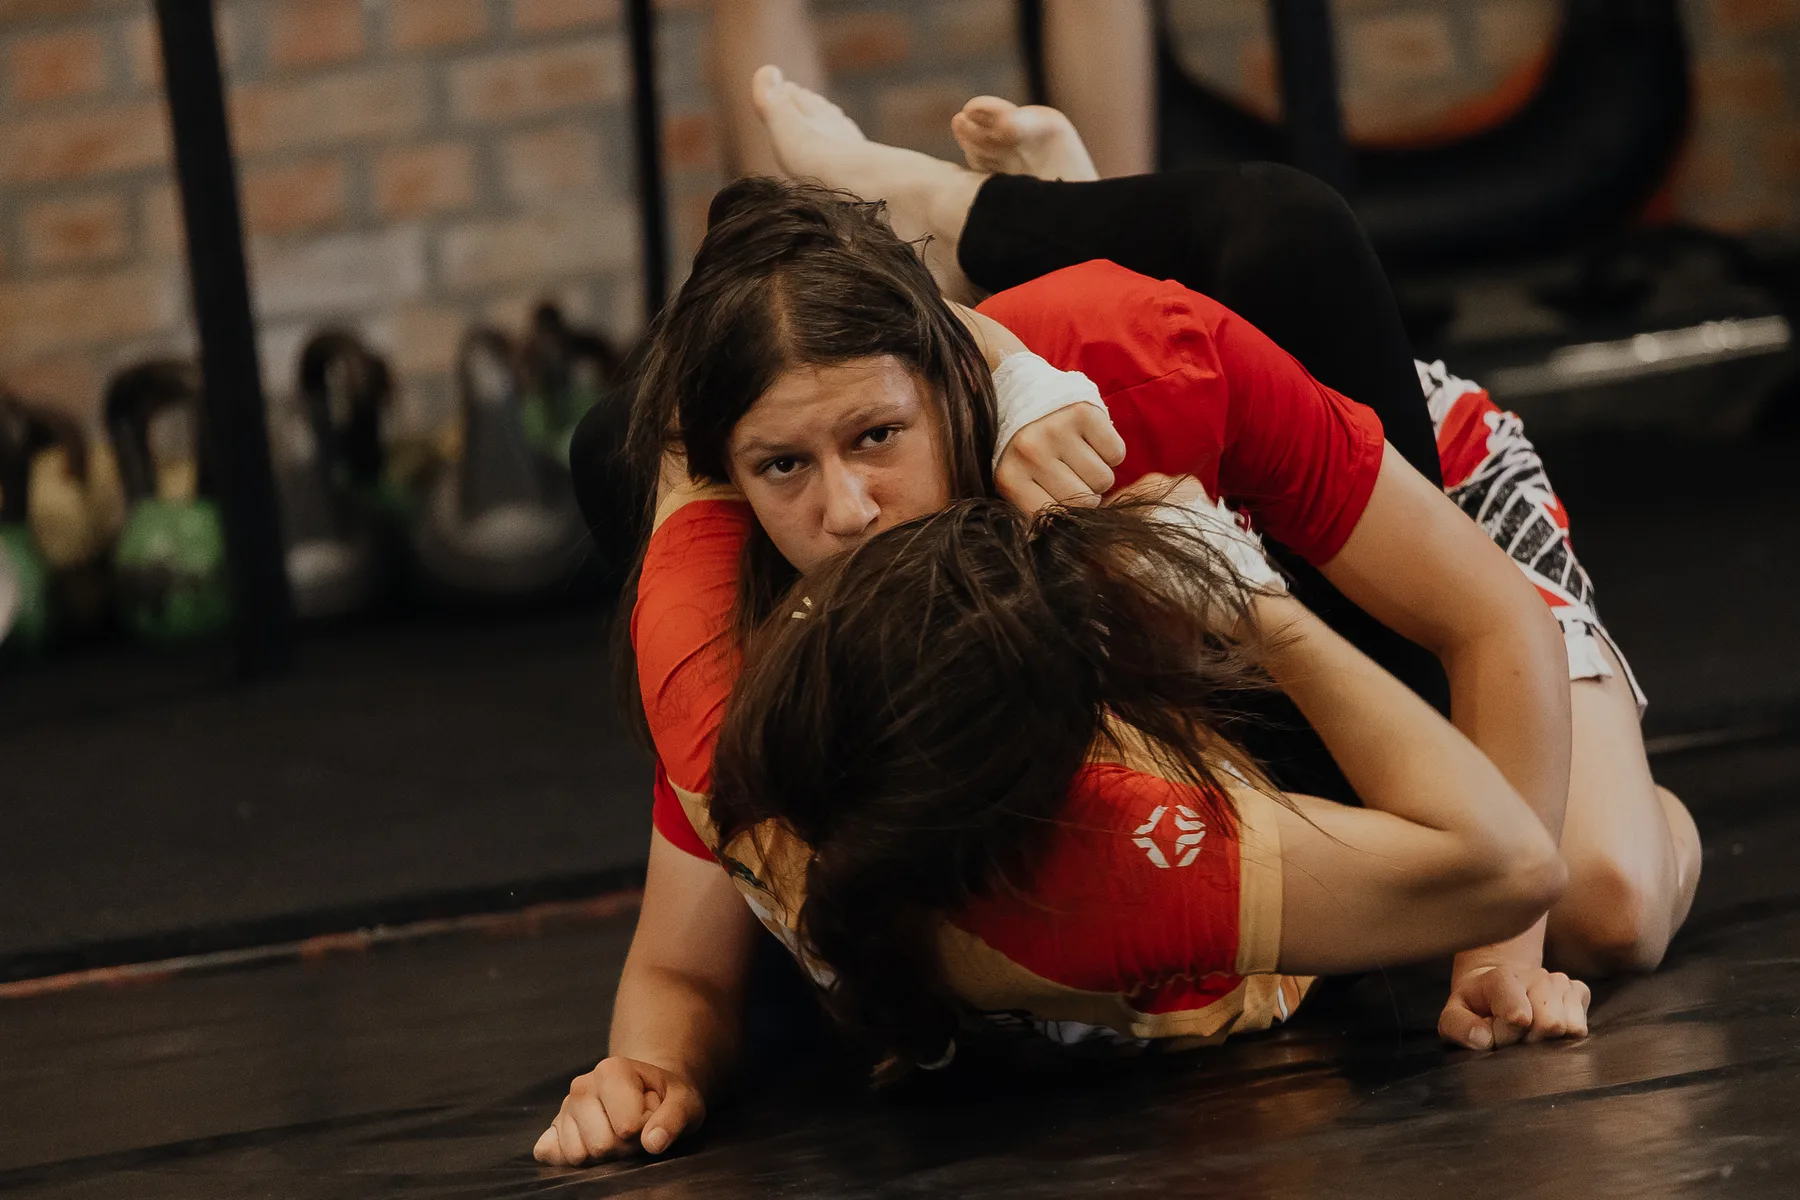
A strong first 12 weeks of Brazilian Jiu-Jitsu should make the room and the positional map less confusing, not fill a notebook with unrelated submissions. Train consistently two or three times per week if recovery and schedule allow, learn how to tap and stop immediately for a partner’s tap, and recognize the main standing, guard, side-control, mount and back-control situations. Build protection before escape: manage the neck, keep elbows and knees useful, create inside frames, and move the hips into space. Choose one repeatable route from a bad position back to guard and one top route from guard passing to stable control. Add submissions only through the gym’s coached curriculum and within the legal, age-appropriate rules being trained. Positional rounds should begin with clear roles and moderate resistance before open rolling. This 12-week framework is a map, not a medical or coaching prescription; the instructor should adapt it for prior injuries, fitness, age and attendance. Stop for injury, head impact, neurological symptoms or movement-changing pain, and use appropriate medical assessment rather than trying to roll through them.
01
What to understand
Read the positional map
Learn to name the immediate relationship before choosing a move: standing, open or closed guard, half guard, side control, mount, back control or a transition. Then ask whether you are top or bottom and what danger is present. This simple orientation prevents random movement and helps a beginner understand why the coach’s technique matters.
Make safety a trained behavior
Practise clear tapping with hand, foot or voice when needed, immediate release on a partner’s signal, and honest communication before a round. Remove jewelry, maintain clean equipment and follow the academy’s mat rules. Do not yank submissions, twist trapped digits or continue after a stop. Good partners protect learning opportunities for both people.
Build defensive structure before escape
From inferior positions, first protect the neck and vulnerable arms, align the body and recover an elbow, forearm or knee inside. Only then bridge, turn or hip-escape into the created space. A powerful movement without structure often exposes another submission or exhausts the beginner. Train calm checkpoints so breathing and decisions remain available.
Own one bottom and one top pathway
Connect a mount or side-control escape to a recognizable guard, then connect a simple sweep or safe stand-up to the next position. On top, learn one guard-opening or distance solution, one pass and a stable side-control checkpoint. Small connected pathways are easier to recall under resistance than a wide collection of isolated techniques.
Use live practice to answer one question
Enter each positional round with a task such as recover the inside knee, retain guard for twenty seconds or stabilize after the pass. Start with a partner and resistance level chosen by the coach. Afterward, record the position, first problem and one cue rather than judging the round only by taps or perceived victory.
02
How to train it
Weeks 1–2 · room safety and orientation
Learn academy etiquette, tapping, controlled partner contact and any coached falling or standing safety. Identify the main positions and practice moving between base, seated guard and safe top posture without live submissions. In positional rounds, pause often and name the relationship. Consistent attendance and calm repetition are the only performance targets.
Weeks 3–4 · survival and inside frames
Start in mount, side control and a controlled back position. Protect immediate submission lanes, organize elbows and knees, and hold a safe checkpoint before trying to escape. The top partner applies stable, moderate pressure and stops instantly on a tap. Measure whether the bottom athlete can breathe and identify the next frame.
Weeks 5–7 · escape to guard
Build one mount escape and one side-control escape around protection, inside position and directed hip movement. Finish every successful repetition in a named guard instead of open space. Let the top partner give one predictable reaction, then add a second. Keep resistance low enough that the sequence remains visible and joints remain safe.
Weeks 8–10 · guard and top connection
From one simple guard, recover inside position, maintain distance and connect a coached sweep or safe route to standing. On top, practice one pass that reaches a stable control beyond the opponent’s knee-and-elbow recovery line. Alternate roles so both athletes understand what the other person is trying to rebuild.
Weeks 11–12 · integrate controlled rounds
Use short rounds that begin in the positions studied, followed by limited open rolling if the coach approves. Set one goal for bottom and one for top, use the gym’s current rules and match partners appropriately. Review the 12 weeks by mapping your reliable route and selecting the next weakest transition, not by counting submissions.
Name the position before choosing the next job.
Protect the neck and useful limbs before moving hard.
Frames create space; hips travel through it.
Finish every escape and pass in a known position.
Tap early, release immediately, then learn the next repetition.
03
Common mistakes
Collecting submissions before positions
A beginner cannot apply attacks consistently without reaching and holding the right relationship. Prioritize orientation, escapes, guard and top stabilization; submissions then become coached conclusions instead of hopeful grabs.
Using maximum force to hide uncertainty
Constant tension reduces sensitivity, accelerates fatigue and can make partner contact unsafe. Slow down, identify the position and use a structural checkpoint before adding a short effort in a clear direction.
Starting every round from an undefined neutral
Open starts often give beginners too few repetitions in the positions that frighten them most. Begin near the week’s problem with roles and a reset condition, then widen the round as decisions improve.
Treating the 12-week map as a fixed prescription
Attendance, academy curriculum, prior sport and health history change the pace. Repeat a phase when safety or recall is inconsistent, and let the responsible coach determine legal techniques, partners and progression.
04
Questions athletes ask
01 · How many days per week should a BJJ beginner train?
Two or three consistent sessions are a useful starting range for many beginners. Add frequency only when sleep, daily function, attention and joint comfort remain stable. One sustainable month teaches more than an overloaded week followed by absence.
02 · Should I start with gi or no-gi BJJ?
Either can work. Choose the format and academy you can attend consistently with responsible instruction. Learn its grip, friction and rule differences, and do not assume a technique legal in one division or organization is automatically legal in another.
03 · When should a beginner start open rolling?
Follow the academy instructor’s decision. A beginner should first show reliable tapping, immediate release, basic position recognition and controlled partner behavior. Positional rounds can build those skills while reducing the number of simultaneous decisions.
04 · When should I enter my first BJJ competition?
Compete when your coach agrees that you can train safely, understand the applicable rules and use a simple game plan. Verify the organizer’s current legal-technique, uniform, weigh-in and bracket information, and treat the event as feedback rather than a judgment of identity.
05
Sources and further reading
Training needs vary by athlete, schedule and coaching environment. Use these sources as context, then adapt with qualified support. Educational content for athletes and coaches. This guide does not diagnose injury, replace individualized coaching or override event rules. Stop if an activity causes pain, and use an appropriately qualified coach or healthcare professional for your situation.