
The direct answer
Use the positional hierarchy to decide what to protect, escape and attack first.
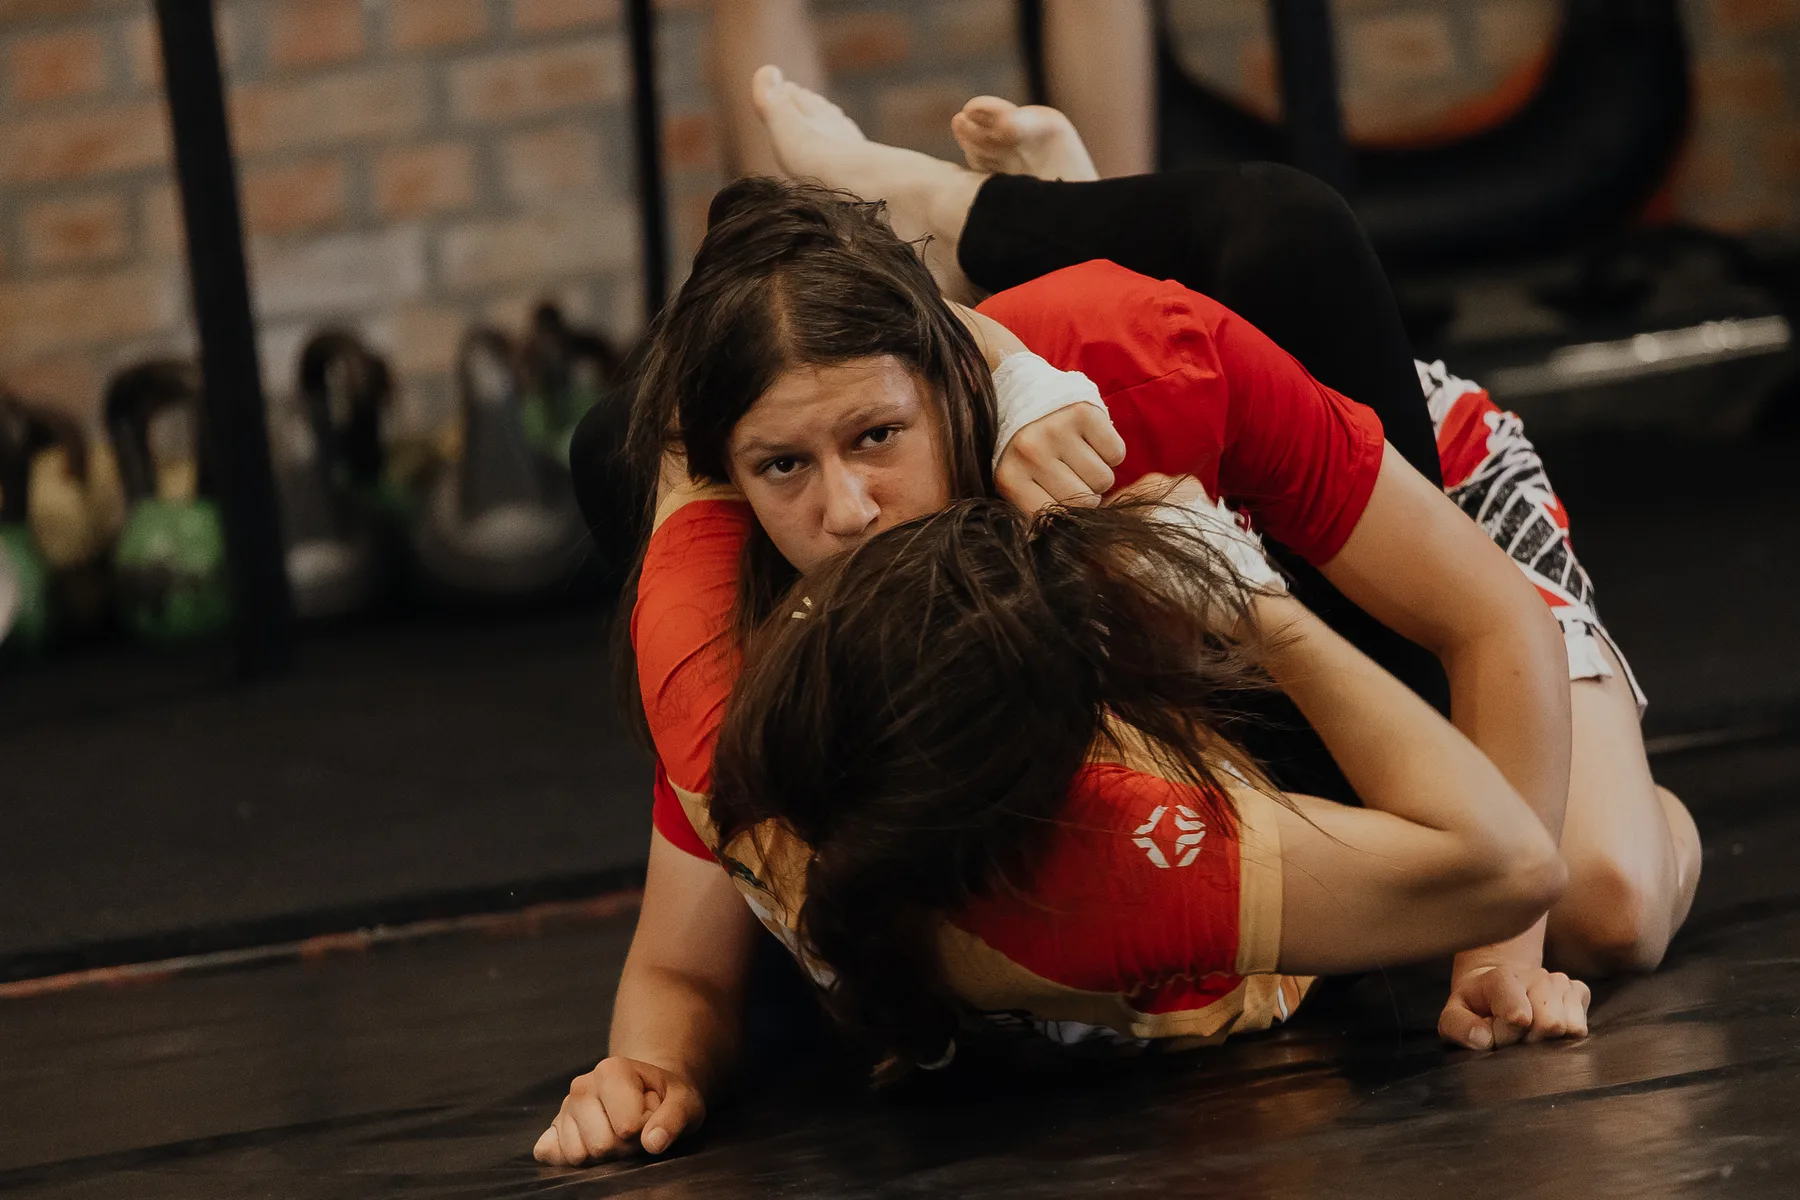
Reliable BJJ escapes begin with survival and structure, not a sudden explosion. Identify the immediate submission threat, protect the neck and vulnerable arms, and tap early if control is already beyond safe recovery. Rebuild inside position by bringing an elbow, forearm, knee or shin between your core and the top athlete. Next remove or redirect the post that blocks movement, then bridge, turn or move the hips through the space your frame created. Finish in a named position—closed guard, half guard, open guard, a controlled turtle or standing base—because movement into empty space lets the opponent establish control again. The same process organizes mount, side-control and back-control escapes even though the exact frames differ. Train the stages from static survival to predictable reactions and progressive resistance, using partners selected for control. Never push through the face or neck with uncontrolled force, wrench trapped joints or spin blindly while a limb is isolated. Legal submission threats and defensive options vary by gi, no-gi, age and organization, so the responsible coach and current event rules should shape practice.
01
What to understand
Separate survival from escape
Your first task is to prevent the position from becoming an immediate choke or joint lock. Keep vulnerable elbows and hands from isolation, organize breathing and use the academy’s coached hand fighting. An athlete who cannot hold a safe survival checkpoint should not launch a large turn. Tapping is the correct decision when the submission is already secured.
Recover an inside frame
A frame is useful when bone alignment carries pressure and protects inside space without locking the joint. Bring the near elbow or knee back between the bodies a small distance at a time. Straight-arm pushing fatigues quickly and exposes the limb; compact forearms, elbows and knees usually give the hips a safer structure to move around.
Remove a post before moving hard
Top control survives because one or more posts stop rotation or hip travel. Identify whether an arm, knee, head position or weight direction blocks the chosen escape. Trap, redirect or move around that post before using a bridge or hip escape. Power applied in a direction the opponent has already supported mostly creates fatigue.
Move the hips into created space
Frames do not perform the escape alone; they hold a brief window in which the hips can change angle. Use a short bridge to shift weight, a hip escape to make distance, or a controlled turn when the top athlete adjusts. Keep the movement connected to the inside knee or elbow so the opponent cannot simply follow the empty hips.
Finish the escape in a known relationship
Define success before starting: recover half guard, place both shins inside, turn to a safe turtle with hand-fighting responsibility, or stand with posture. The first space is only a transition. Secure grips or frames, face the opponent when appropriate and prevent the same control from immediately returning before treating the escape as complete.
02
How to train it
Round 1 · survival checkpoint
Start in mount, side control or back control with the top athlete holding stable but moderate pressure. The bottom athlete protects the immediate submission lanes and maintains a coach-approved safe shape for a brief interval without trying to escape. Reset on any tap or loss of safe alignment. Alternate roles and positions.
Round 2 · one inside frame
Give the top athlete one fixed pressure direction and the bottom athlete one missing elbow or knee line. The task ends when the inside frame is recovered without a straight-arm push or unsafe neck pressure. Start with generous space, then reduce it gradually while both athletes preserve clear roles and communication.
Round 3 · mount reaction pair
From a safe mount survival position, the top athlete either leaves a trap-able post or widens the base through a predictable reaction. The bottom athlete chooses the coached bridge-based branch or inside-knee recovery branch, then finishes in a named guard. Stop after the transition and inspect whether submission protection remained intact.
Round 4 · side-control escape chain
The top athlete applies one familiar cross-body control and gives either forward pressure or a postural adjustment. The bottom athlete protects, recovers frames, creates a hip angle and connects to half or open guard. If the top athlete follows the hips, use the trained second direction rather than increasing force blindly.
Round 5 · escape-to-stability rounds
Run short rounds from mount, side or back with the bottom athlete scoring only after reaching and holding a safer named position. The top athlete scores by maintaining legal control or advancing a coached submission at controlled speed. Reset immediately after success so each round produces many clear escape decisions instead of one prolonged struggle.
Submission safety comes before positional ambition.
Bring elbows and knees back inside.
Remove the post before spending power.
Frames hold the window; hips move through it.
An escape ends in a named, stable position.
03
Common mistakes
Pushing with extended arms
Straight arms tire quickly, expose joint attacks and often move the opponent without creating inside space. Recover compact elbow and forearm alignment, then use the frame to support hip movement.
Bridging without changing a post
A strong bridge into a wide, supported base spends energy and may expose an arm. Trap or redirect a post, or use the weight shift to recover the knee, so the effort produces a positional change.
Turning away without a back-defense plan
A blind turn can exchange side control for hooks and a choke threat. If a turtle or turn is part of the escape, pair it with hand fighting, elbow-knee structure and a known route to face the opponent or stand.
Exploding before recognizing the threat
Sudden motion while the neck or arm is isolated can tighten a submission and makes partner safety harder. Protect first, communicate, and add a short burst only after frames and direction are prepared.
04
Questions athletes ask
01 · Which BJJ escape should a beginner learn first?
Learn one mount and one side-control escape that share the same principles: protect submissions, recover inside elbow-knee structure, remove a post and finish in guard. The coach should choose versions suitable for the academy and athlete.
02 · Why do my escapes fail against heavier partners?
Greater weight magnifies late timing and poor frame alignment. Begin protection earlier, use skeletal structure, move around a post rather than lifting the whole person, and practice with controlled resistance. Partner matching and responsible pressure are also safety decisions.
03 · Should I explode to finish an escape?
A brief acceleration can finish a prepared movement, but it should follow submission protection, inside frames and a clear direction. Continuous maximum effort usually hides the missing step and makes both learning and partner control worse.
04 · When should I tap instead of continuing the escape?
Tap before pain or loss of safe joint and neck position, and whenever you are uncertain that the partner can perceive your signal. Use hand, foot or voice as needed. The partner must release immediately; no training goal justifies forcing a late escape from a secured submission.
05
Sources and further reading
Training needs vary by athlete, schedule and coaching environment. Use these sources as context, then adapt with qualified support. Educational content for athletes and coaches. This guide does not diagnose injury, replace individualized coaching or override event rules. Stop if an activity causes pain, and use an appropriately qualified coach or healthcare professional for your situation.