The direct answer
Use the positional hierarchy to decide what to protect, escape and attack first.
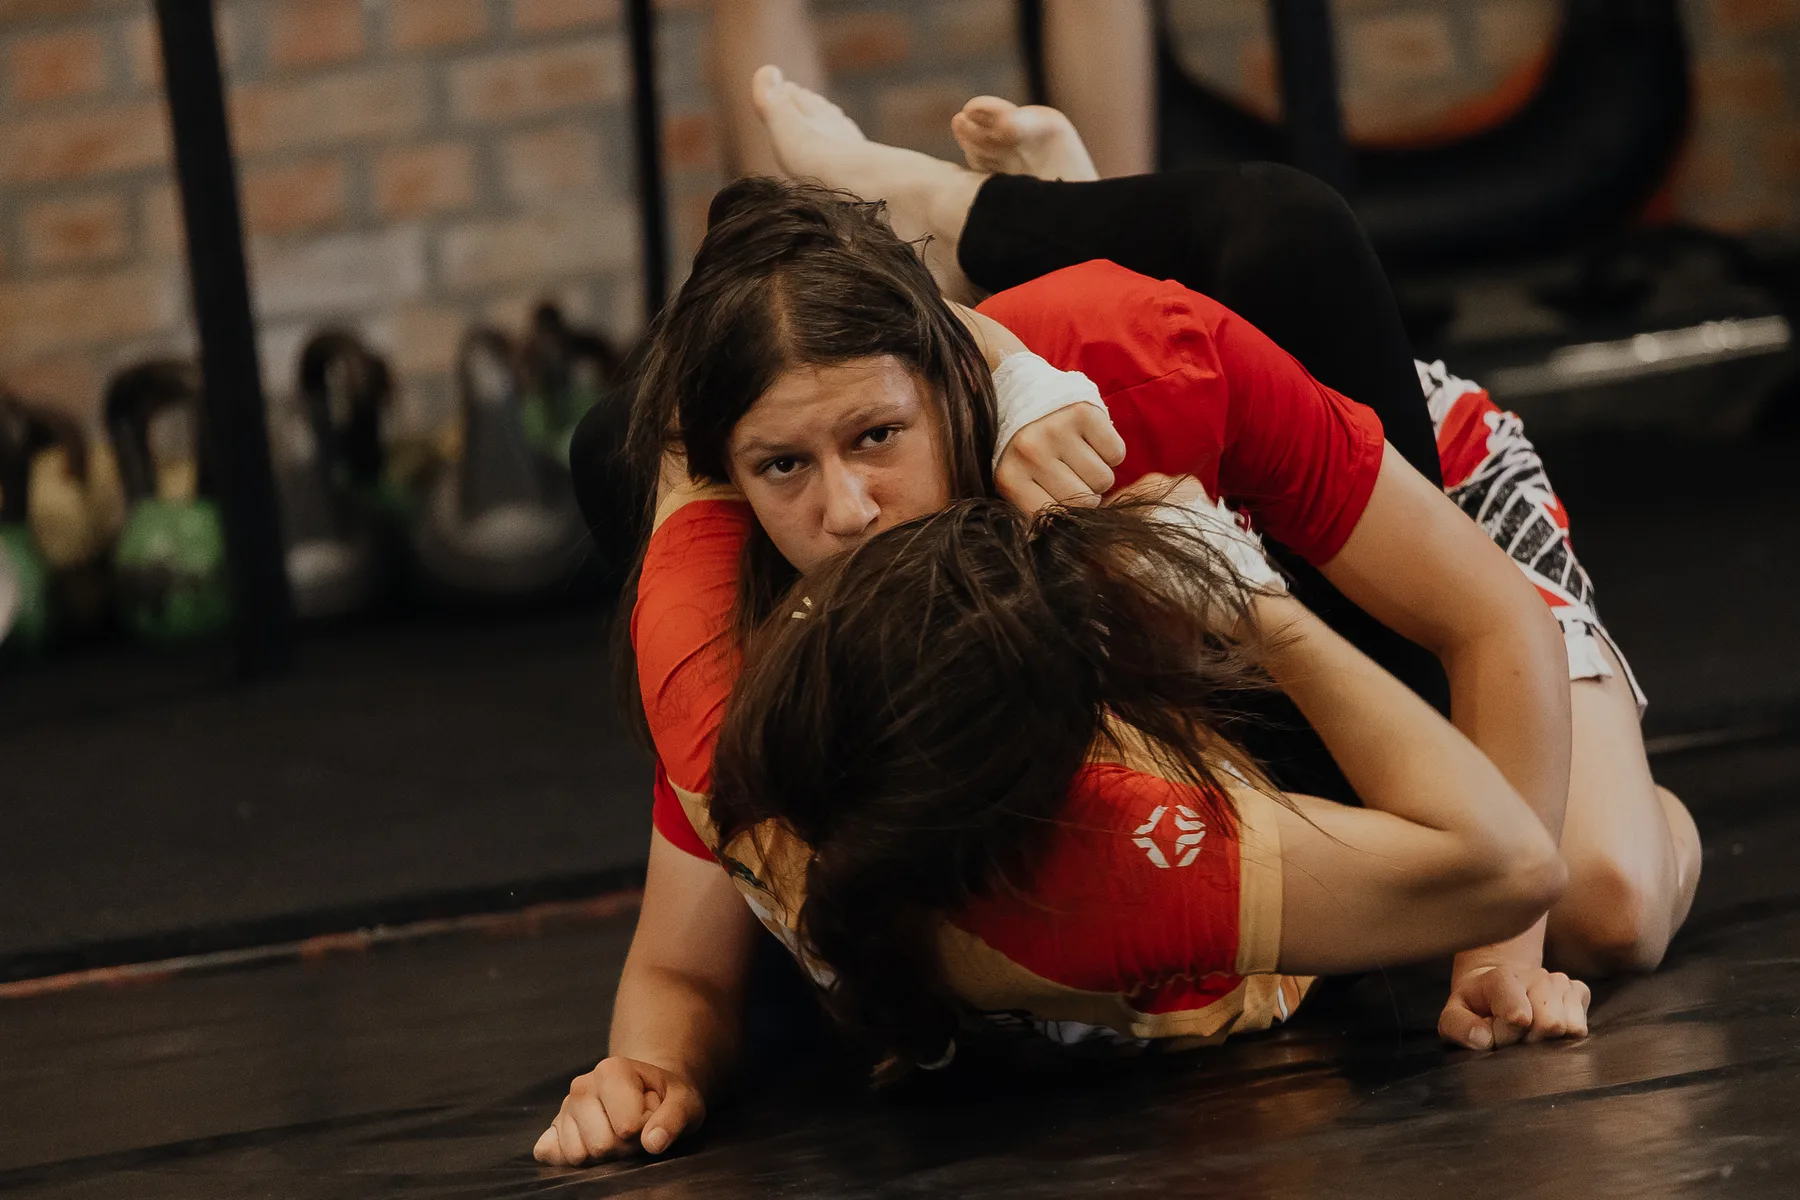
Mount escape starts with four first battles: neck safety, elbow position, hip access and the top athlete’s posts. Bottom should protect the neck and keep elbows from drifting above the shoulder line. The hips need room to bridge or slide, which usually requires framing without extending both arms. Then read the post. If top’s weight is high and a hand or foot can be removed, a bridge-and-roll branch may become available. If top keeps a wide base or follows the bridge, connect that reaction to an elbow escape or knee recovery. If the mount climbs high, address the elbow and shoulder line before trying to move the hips underneath. If top sits low, create hip movement without exposing straight arms. A good escape chain does not finish in a loose scramble; it reaches guard, half guard or a balanced top position while the neck remains protected. Train survival and structure separately from the complete escape. Top applies progressive control and releases immediately when a joint or neck position becomes unsafe. Bottom should not buck through pain, trap a partner’s posting limb recklessly or bridge onto the head. Use suitable mats, early tapping and qualified instruction. Legal attacks and scoring conditions vary by event and division, so consult the current official rules. This guide focuses on the first battles that choose the escape, distinguishing it from broad escape collections and from a simple one-technique mount tutorial.
01
What to understand
Protect the neck and elbow line
Keep hands available for defense and elbows connected to the ribs. Reaching upward gives top isolation and removes the bridge structure.
Locate the top athlete’s weight
High, low, forward or posted weight changes the useful branch. Do not begin the same escape before reading where the base is strongest.
Bridge to change a post
A bridge should force top to post, shift weight or narrow the knees. The resulting reaction opens the roll or elbow pathway.
Recover elbow and knee connection
When space opens at the hip, bring the knee inside while the elbow protects the lane. One recovered line can become half or full guard.
Finish the escape under control
After the roll or recovery, establish posture and grips appropriate to the new position. Do not leave the neck or arm exposed during celebration.
02
How to train it
Battle 1 · survival shape
Top holds mount at moderate pressure. Bottom protects neck, returns elbows and identifies high or low mount without attempting an escape.
Battle 2 · bridge creates the post
Bottom bridges with controlled direction. Top posts one hand or widens a knee; both freeze and name the available branch.
Battle 3 · elbow-knee gate
Top follows the bridge with a wide base. Bottom uses hip movement to reconnect elbow and knee, then stops in half guard.
Battle 4 · high-mount recovery
Top climbs above the elbows without attacking. Bottom protects arms, moves the shoulders and recovers an elbow line before lowering the hips.
Battle 5 · two-branch round
Top may post narrow or widen the base. Bottom chooses bridge-and-roll or elbow-knee recovery and scores only a stable new position.
Neck safe, elbows home, then move.
Read high or low mount before choosing.
The bridge creates a post; it is not the whole escape.
Connect elbow to knee through the opening.
Recover guard or top position before relaxing.
03
Common mistakes
Pushing the chest with straight arms
Top can isolate the elbows or move into a higher mount. Use protected frames and hip movement instead of extended-arm strength.
Bridging repeatedly without reading posts
Energy is spent while top widens and settles. Use the first bridge to reveal a hand, foot or knee response, then change branch.
Ignoring high mount
Hip escapes become weak when the elbows are separated from the torso. Recover the upper-body line before expecting the knee to enter.
Rolling without controlling the landing
A successful reversal can end inside a submission or immediate re-roll. Protect posture and establish the new top relationship.
04
Questions athletes ask
01 · Which mount escape should a beginner learn first?
Learn a bridge-and-roll branch and an elbow-knee recovery as complementary answers, plus the survival structure that makes both safe.
02 · Why does my bridge not move the opponent?
The direction, foot placement or trapped post may be missing, or top may have widened. Use the reaction to transition rather than bridging harder.
03 · What if the opponent mounts very high?
Prioritize neck and arm safety, shoulder movement and elbow recovery. Ask an instructor for a variation suited to the exact control.
04 · How much resistance is safe in mount drills?
Increase pressure only while both partners can communicate and preserve neck, joint and landing control. Stop immediately for pain or unsafe alignment.
05
Sources and further reading
Training needs vary by athlete, schedule and coaching environment. Use these sources as context, then adapt with qualified support. Educational content for athletes and coaches. This guide does not diagnose injury, replace individualized coaching or override event rules. Stop if an activity causes pain, and use an appropriately qualified coach or healthcare professional for your situation.