The direct answer
Use the positional hierarchy to decide what to protect, escape and attack first.
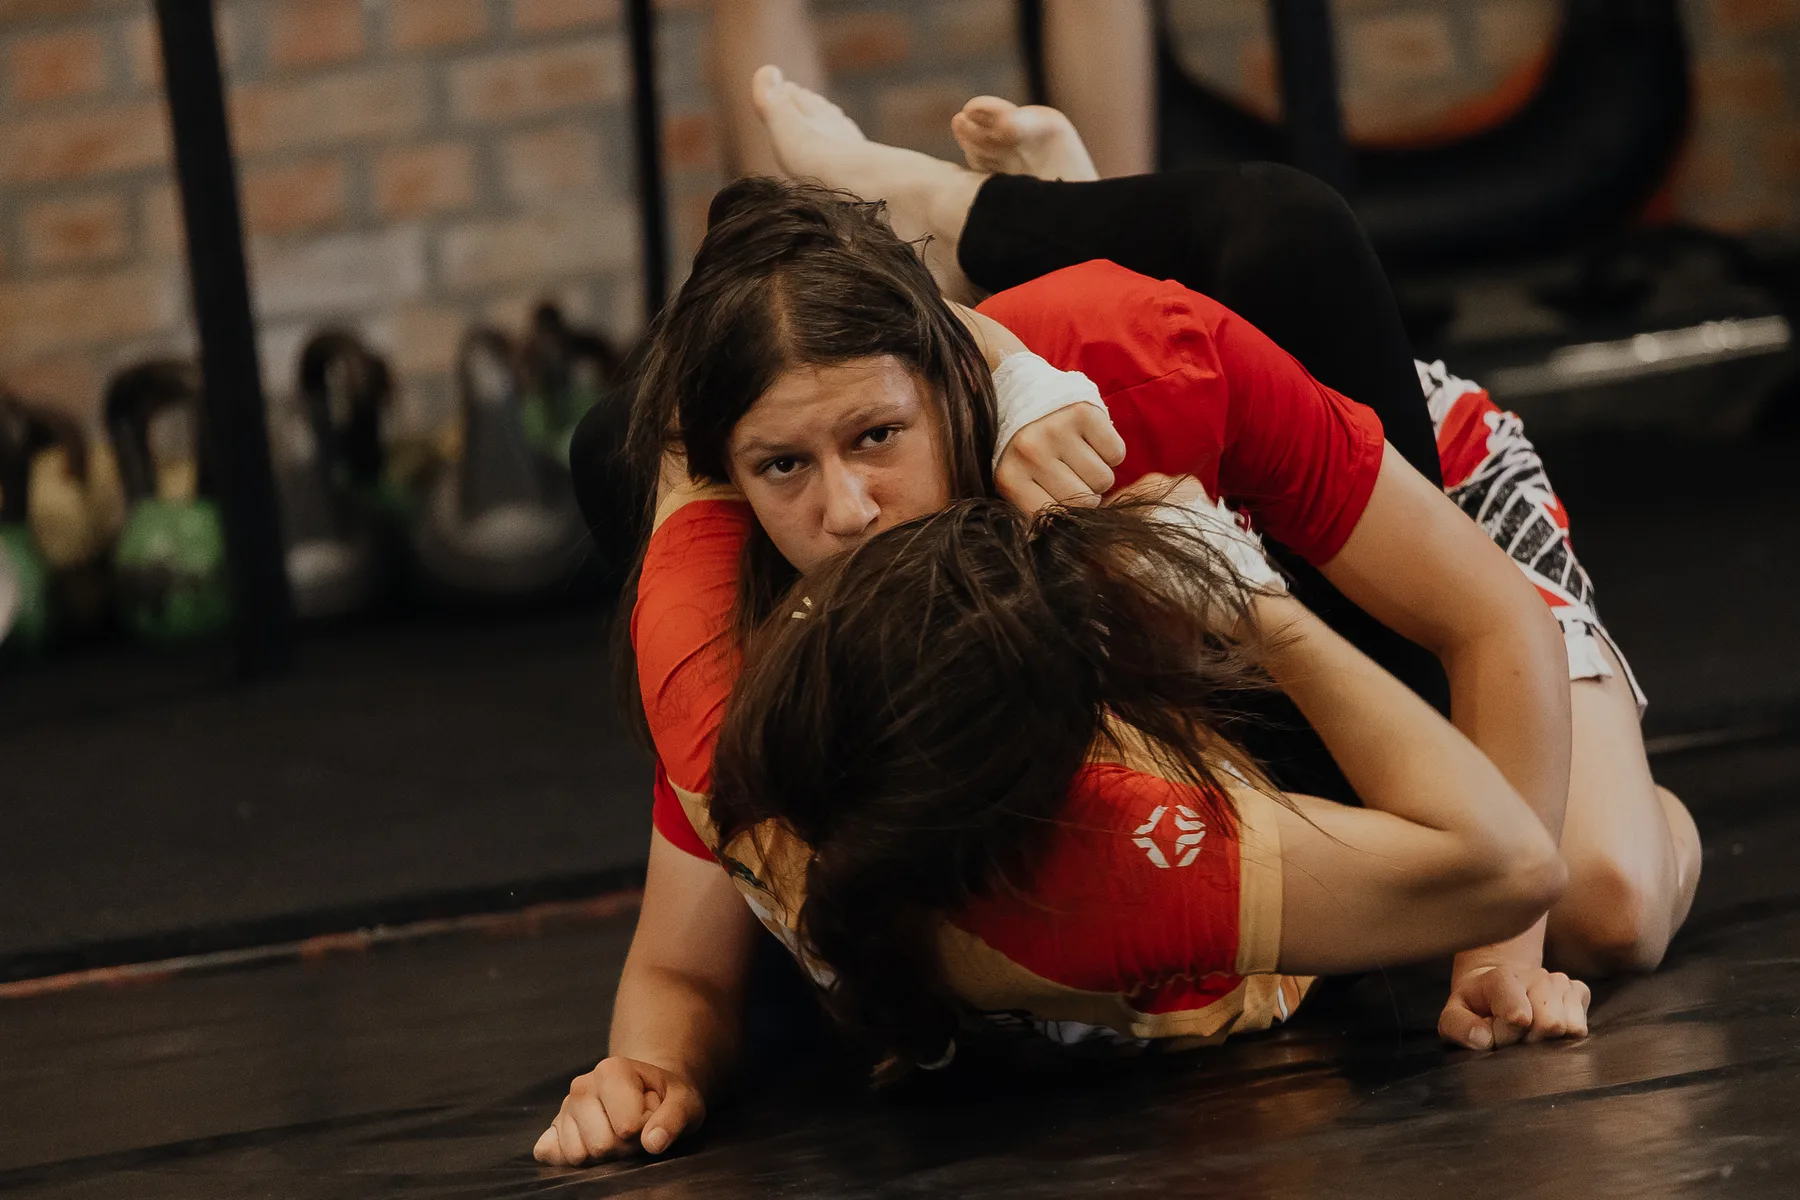
A side-control escape begins with diagnosis, not a large bridge. First identify whether the top athlete controls the head, the near hip, the far arm or the space between the elbows and knees. The bottom athlete protects the neck and arms, rebuilds frames inside the opponent’s shoulders and hips, and turns enough to make the spine and pelvis useful. From there, pressure selects the branch. If top pressure drives across the chest, create a frame and recover the near knee. If the top athlete follows the hips or blocks the knee line, connect a bridge to a change of angle, turn to an underhook pathway or recover another guard. If pressure becomes light because top adjusts, sit up or build a base only when the head and back remain protected. The objective is not simply to move the top athlete; it is to reach a recognizable next position—guard, half guard, knees or a safe standing route—with frames still available. Practice begins from controlled pins, not painful neck pressure. Partners increase resistance gradually and stop when a shoulder, elbow, neck or rib position cannot be controlled. No one should wrench a crossface, force a trapped arm or explode through pain. Tap or verbally stop early, and use instructor-approved variations. Competition scoring and control definitions vary, so verify the current official event rules rather than treating this technical decision tree as a points guide. This page is intentionally narrower than a general escapes overview: it isolates side-control diagnosis and branching.
01
What to understand
Identify the controlling lines
Name what controls the head, near hip and inside elbow space before moving. The missing line tells you which frame can be rebuilt first.
Build frames before force
Place forearms and hands on safe structural targets without pushing the face or locking elbows. Frames carry pressure long enough for the hips to move.
Turn the body into useful alignment
A completely flat body makes hip movement expensive. Use a controlled bridge or shoulder turn to create an angle while keeping vulnerable arms connected.
Choose knee recovery or underhook
When hip space opens, insert the knee; when top follows that space, use inside upper-body position to turn or build. Do not chase both routes poorly.
Finish in a named position
Guard recovery, half guard, knees or standing should be stable enough to begin the next project. A brief gap under pressure is not the escape.
02
How to train it
Branch 1 · frame inventory
Top holds moderate side control without submissions. Bottom names each controlling line and rebuilds one safe frame, then both reset.
Branch 2 · pressure to knee
Top applies predictable cross-body pressure. Bottom frames, angles the hips and recovers the near knee without bench-pressing the partner.
Branch 3 · knee block to underhook
Top follows and denies the knee. Bottom protects the far arm, wins inside position and turns to a coached underhook route.
Branch 4 · light pressure sit-up
Top briefly removes chest pressure to adjust. Bottom chooses a protected sit-up or guard recovery without exposing the back.
Branch 5 · two-choice positional round
Top may block knee recovery or follow the underhook. Bottom scores only by reaching a stable guard, knees or standing position.
Name the control before choosing the escape.
Frames make room; hips use it.
Turn enough to move, not enough to donate the back.
Knee when space opens; underhook when pressure follows.
The escape ends in a stable next position.
03
Common mistakes
Pushing with extended arms
Muscular pushing fatigues and can expose elbows. Use aligned frames, then move the hips instead of trying to lift the entire opponent.
Bridging without a direction
A large bridge that changes no controlling line returns to the same pin. Connect the bridge to frame placement, an angle or knee recovery.
Reaching the underhook with the far arm exposed
The top athlete can isolate the arm or follow the back. Protect the elbow line and turn the whole body into the connection.
Stopping after a small gap
Top pressure returns before the position changes. Insert a knee, establish guard, build to knees or stand before considering the escape complete.
04
Questions athletes ask
01 · What is the first priority under side control?
Protect the neck and arms, breathe, identify controlling lines and rebuild inside frames. A large escape attempt comes after structure.
02 · Should I always shrimp to escape side control?
No. Hip movement is useful when frames create space, but pressure may call for a bridge, underhook, turn or another guard route first.
03 · Can I turn to my knees?
It can be a valid branch when the neck, far arm and back are protected. Learn the exact route with an instructor and expect front-headlock or back-control reactions.
04 · How hard should a partner hold side control?
Use progressive, communicative pressure that preserves safe breathing and joint alignment. Stop for pain, unsafe neck pressure or loss of control.
05
Sources and further reading
Training needs vary by athlete, schedule and coaching environment. Use these sources as context, then adapt with qualified support. Educational content for athletes and coaches. This guide does not diagnose injury, replace individualized coaching or override event rules. Stop if an activity causes pain, and use an appropriately qualified coach or healthcare professional for your situation.